Welcome to Huazhijie!
 +86-572-8086381 / 8282992
  hzjfence1@hzjfence.com

Jul 24, 2025
Planning and Preparation: The Foundation of a Safe Enclosure
Before you even unbox your first post, meticulous planning is crucial. This stage ensures your PVC pool fence system meets local safety codes and perfectly fits your property.
Pool safety fence regulations vary significantly by municipality. Before purchasing any materials, contact your local building department to understand:
Minimum height requirements: Typically 4 to 5 feet, but this can differ.
Gate specifications: Most codes require self-closing, self-latching gates that open outwards, away from the pool, with the latch positioned out of a child's reach.
Picket spacing: This prevents small children from squeezing through.
Setback requirements: How far your PVC swimming pool barrier needs to be from the pool's edge or property lines.
Permit requirements: You'll almost certainly need a building permit for a pool safety barrier.
Sketch out your fence line, considering:
Gate placement: Position gates for convenient access while prioritizing safety. Avoid placing them where they could be easily propped open.
Obstacles: Account for trees, landscaping, or uneven terrain.
Underground utilities: Before digging, call your local "call before you dig" service (e.g., 811 in the US) to mark underground utility lines. This is non-negotiable for safety.
Having everything on hand will streamline the installation of your PVC swimming pool fence. You'll need:
PVC fence kit: Ensure it includes posts, rails, pickets, gate hardware, and post caps.
Measuring tape and string line: For accurate layout.
Post-hole digger or auger: Essential for digging holes.
Level (post level preferred): To ensure plumb posts.
Rubber mallet: For tapping components into place without damage.
Drill with appropriate bits: For attaching rails and gate hardware.
Concrete mix (quick-setting recommended): For securing posts.
Gravel or crushed stone: For drainage around post bottoms.
Shovel and wheelbarrow: For mixing concrete.
Safety glasses and gloves.
With your plan in place and tools ready, you can begin the physical installation of your plastic pool fence.
Using your string line and measuring tape, precisely mark the perimeter of your vinyl pool fence. Then, mark the exact location of each fence post according to your fence panel lengths. Typically, posts are spaced 6 to 8 feet apart, depending on the panel size. Remember to account for the width of any gates.
Dig holes for each post. The general rule is that one-third of the post's total length should be underground. So, for a 5-foot fence, you'd dig a hole about 20 inches deep. The diameter should be 8-10 inches to allow for concrete. Ensure the bottom of the hole is wider than the top for a secure footing.
These are your anchor points.
Add 4-6 inches of gravel to the bottom of each hole for drainage.
Place the post in the hole, ensuring it's centered.
Mix your concrete according to the manufacturer's instructions.
Pour concrete around the post, ensuring it's plumb (perfectly vertical) using your post level. Fill to just above ground level, sloping it away from the post to shed water.
Brace the posts securely to keep them plumb until the concrete cures, which can take 24-48 hours.
Once your corner and gate posts are stable:
Install the remaining line posts one by one, working between your set corner posts.
Dry-fit the fence rails between the posts to confirm proper spacing before setting each post in concrete.
Ensure each post is plumb and at the correct height before the concrete sets.
Attach the horizontal rails to the posts. Most PVC fence systems use routed posts where rails simply slide in, or brackets are used. Follow your specific kit's instructions carefully.
Slide the vertical pickets into the routed holes in the top and bottom rails. Ensure they are evenly spaced and secure. Some systems may require fasteners to hold the pickets in place.
Once all panels are assembled, cap each post with its decorative post cap. These often simply slide on and may be secured with an adhesive.
This is arguably the most critical step for safety.
Carefully position the gate within the gate post opening.
Attach hinges to the gate and gate post according to the manufacturer's instructions. Ensure the gate swings freely and opensoutwardsfrom the pool area.
Install the self-latching mechanism and ensure it operates correctly, automatically engaging when the gate closes and requiring a manual release. The latch should be high enough to be out of a child's reach.
Test the gate multiple times to confirm it latches securely every time.
Once your PVC pool security fence is fully installed, take time for a thorough inspection.
Walk the entire perimeter, checking for any gaps or loose components.
Test all gates repeatedly to ensure they self-close and self-latch without fail.
Confirm the latch is inaccessible to small children.
One of the biggest advantages of a PVC pool barrier is its minimal maintenance.
Cleaning: Simply wash with soap and water or a mild household cleaner to remove dirt, algae, or mildew. A pressure washer on a low setting can also be effective.
Inspection: Periodically check hinges, latches, and posts for any signs of wear or damage. Address any issues promptly to maintain the fence's integrity and safety.
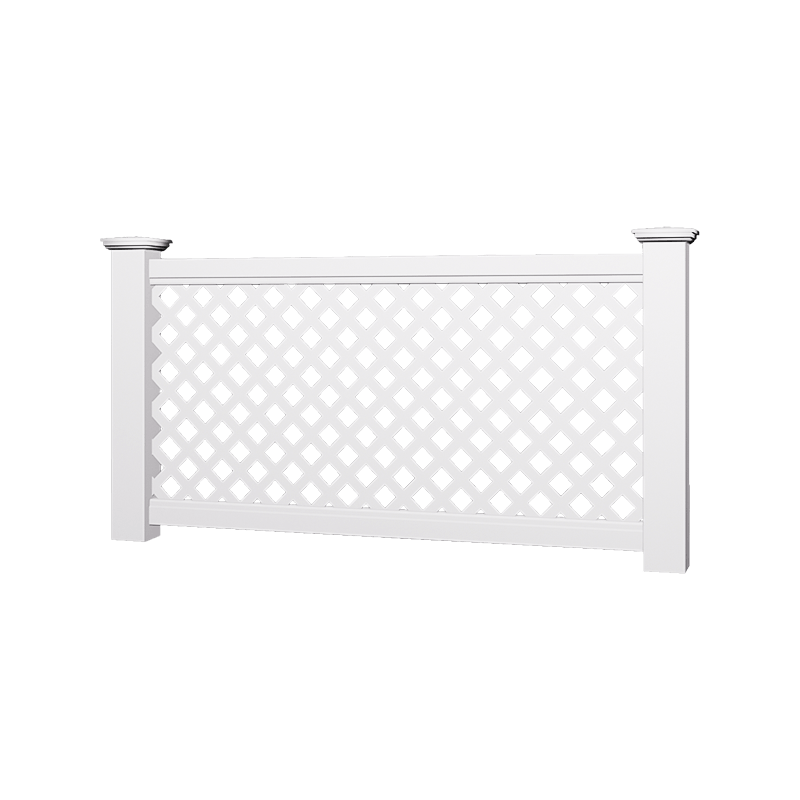
Our 1.5"x1.5" Horizontal Picket Fence, the ultimate garden solution made from 100% virgin PVC for unmatched durability and low maintenance. Designed for easy DIY installation, this fire-proof fence re...
See Details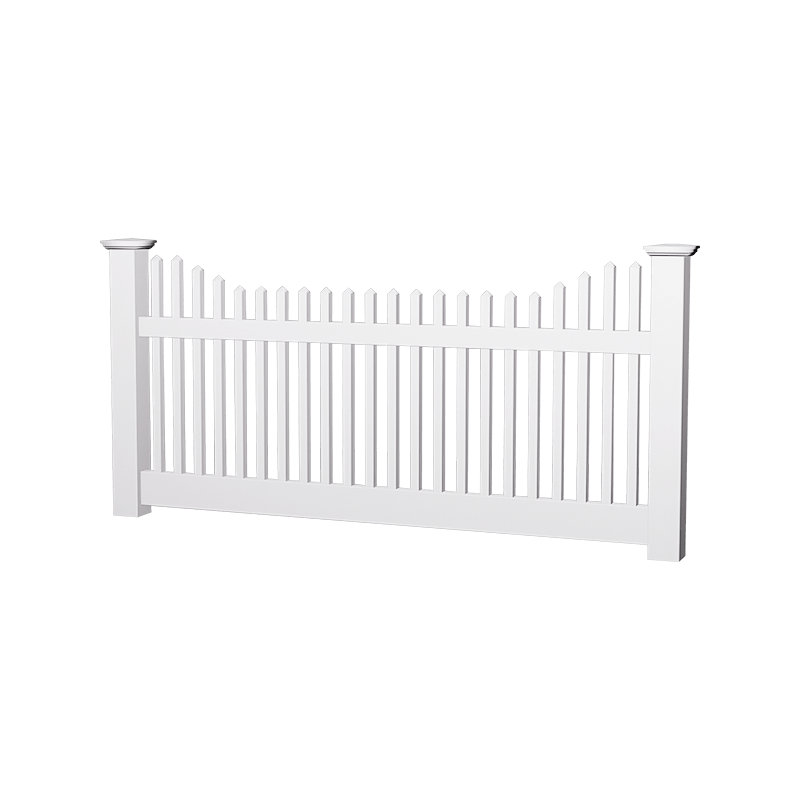
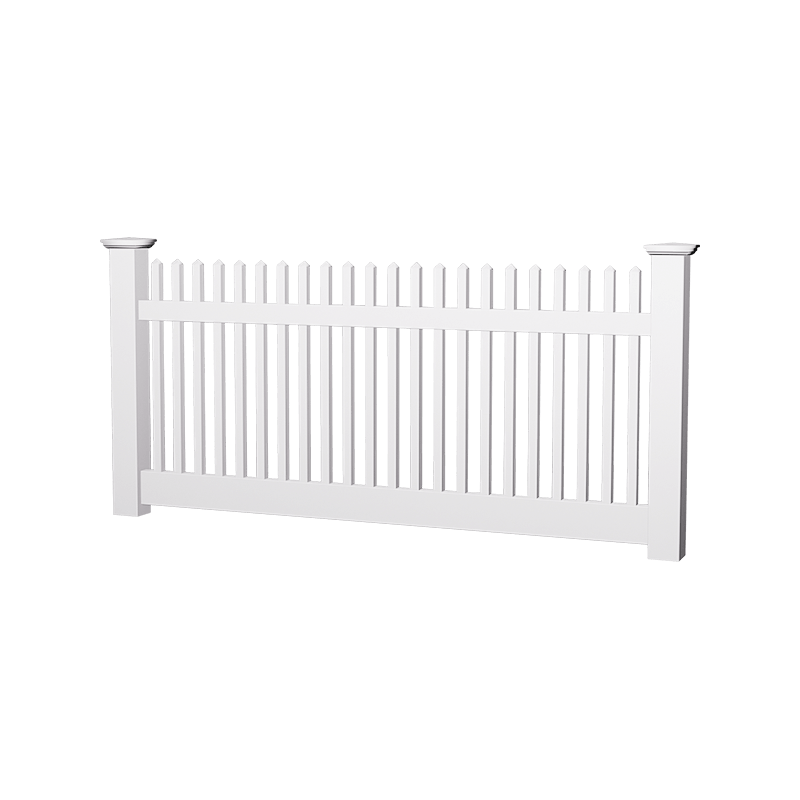
The Special-Shaped Picket Fence, the perfect addition to any home. Crafted from 100% virgin PVC, this fence combines durability and elegance with low maintenance requirements. Designed for easy DIY in...
See Details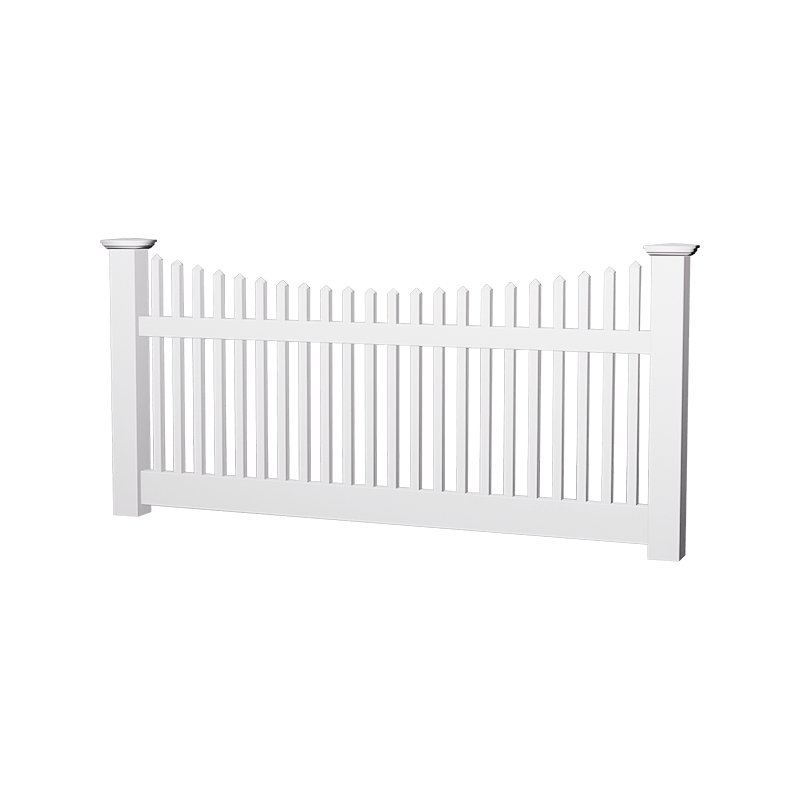
The Special-Shaped Picket Fence, the perfect addition to any home. Crafted from 100% virgin PVC, this fence combines durability and elegance with low maintenance requirements. Designed for easy DIY in...
See Details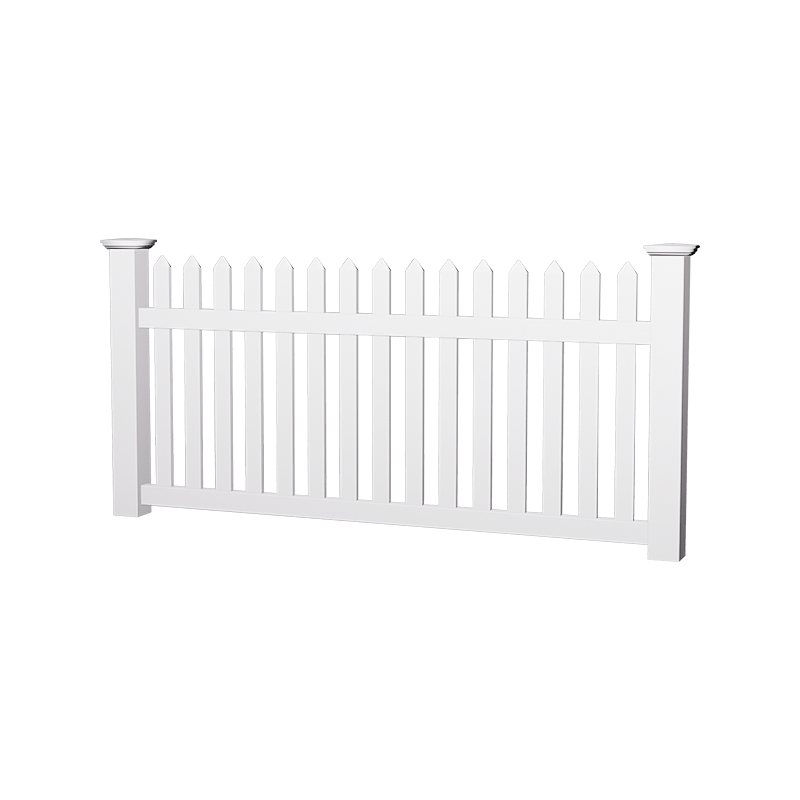
Enhance your home’s exterior with our Traditional Straight Spade Fence, crafted from 100% virgin PVC for exceptional durability and style. This low-maintenance solution is designed for easy installati...
See Details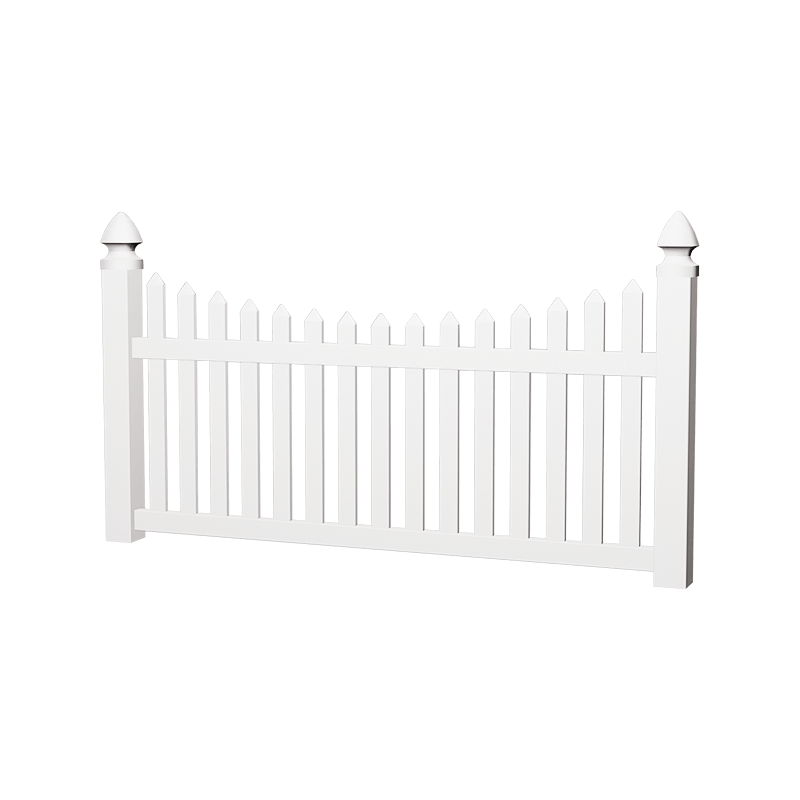
Transform your outdoor space with our 7/8"x3" Outdoor Picket Fence, specifically designed for farm use and outdoor applications. Crafted from 100% Virgin PVC, this durable and high-impact resistant fe...
See Details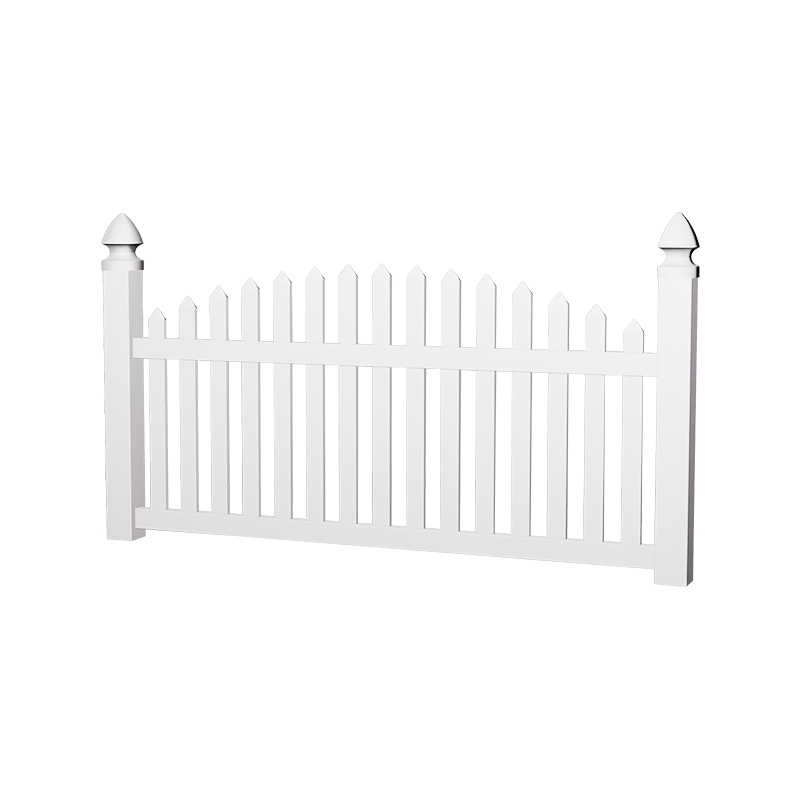
Enhance your farm's aesthetic and functionality with our PVC Arched Picket Fence. Crafted from 100% virgin PVC, this durable and stylish fencing solution combines the classic charm of traditional pick...
See Details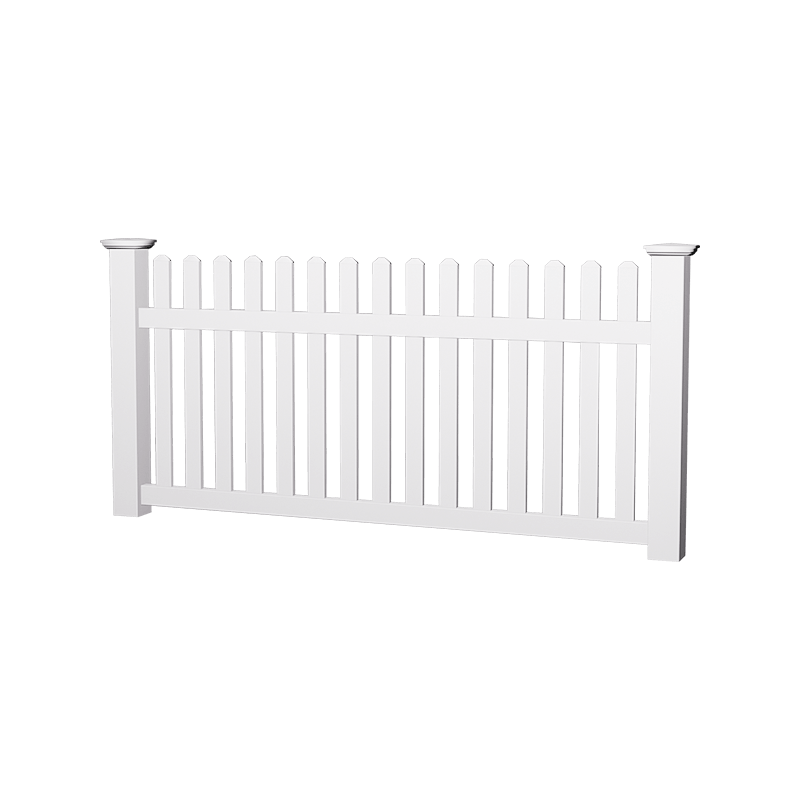
Our durable and versatile Picket Fence, designed specifically for farm use. Crafted from 100% virgin PVC plastic, this fence panel is not coated, ensuring superior quality and longevity. With dimensio...
See Details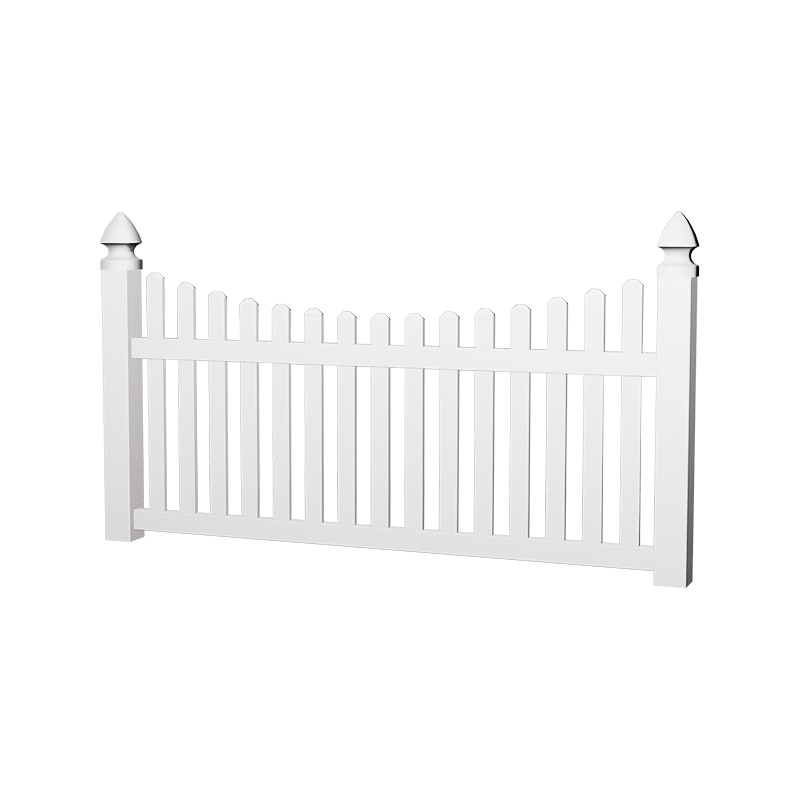
Introducing our 7/8"x3" Plastic Picket, designed specifically for farm applications. Crafted from 100% virgin PVC, this picket is not coated, ensuring maximum durability and resistance to impacts. Wit...
See Details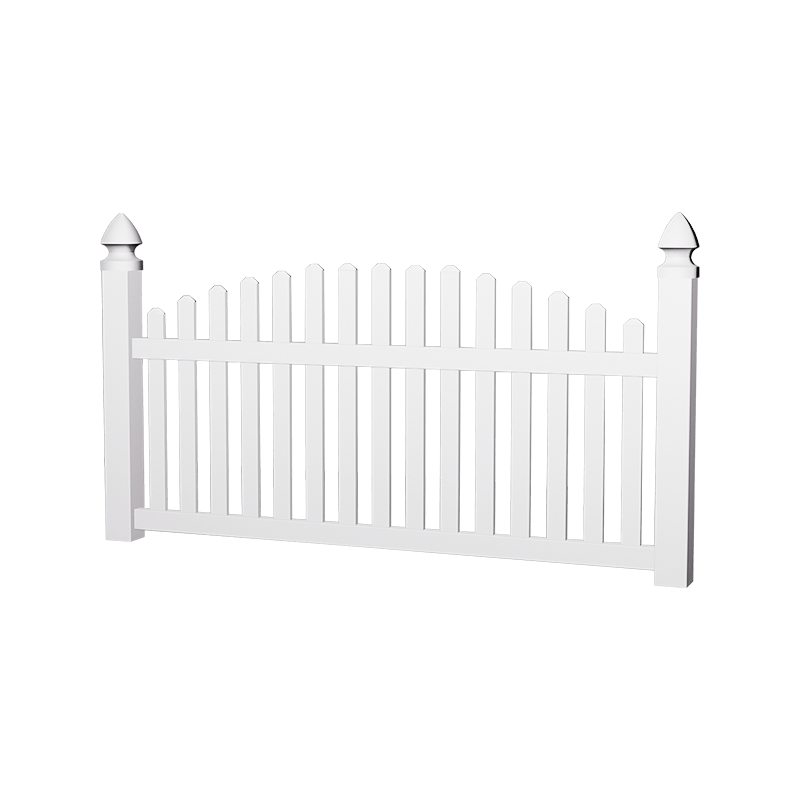
The Dog Ear Top Garden Fence, the ultimate solution for your farm fencing needs. Crafted from 100% virgin PVC, this fence is designed to withstand the elements without the worry of rot or decay, makin...
See Details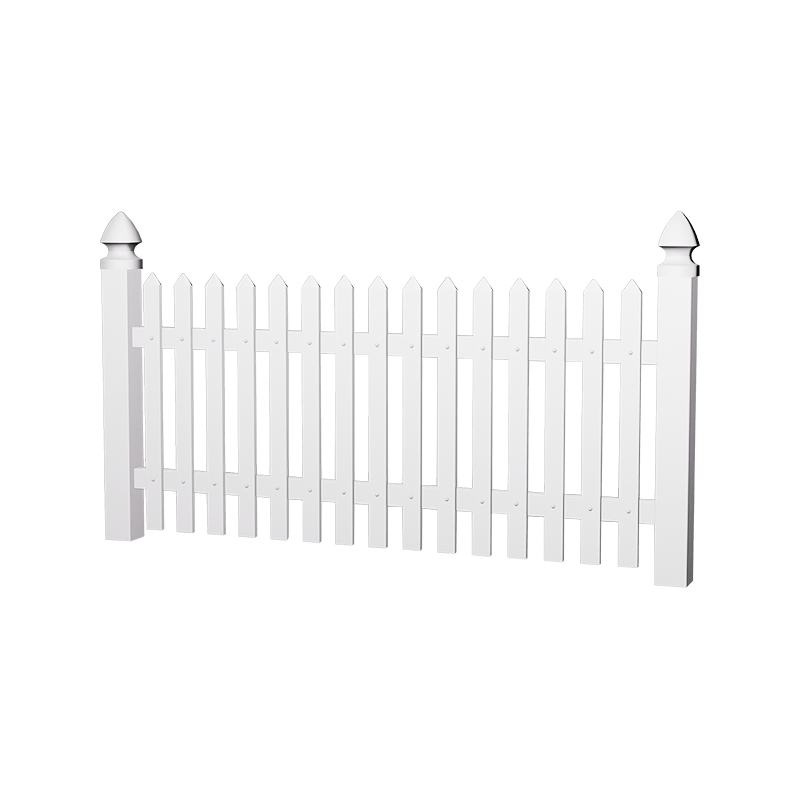
Decorate your outdoor spaces with our durable and stylish PVC Face Mounted Pickets Fence. Designed for easy installation and long-lasting performance, this fence is perfect for residential and commerc...
See Details
Our White Vinyl Fence, measuring 4'H x 8'W, designed for both functionality and aesthetics. Made from 100% virgin PVC plastic, this fence is not coated, ensuring unmatched durability and resistance to...
See Details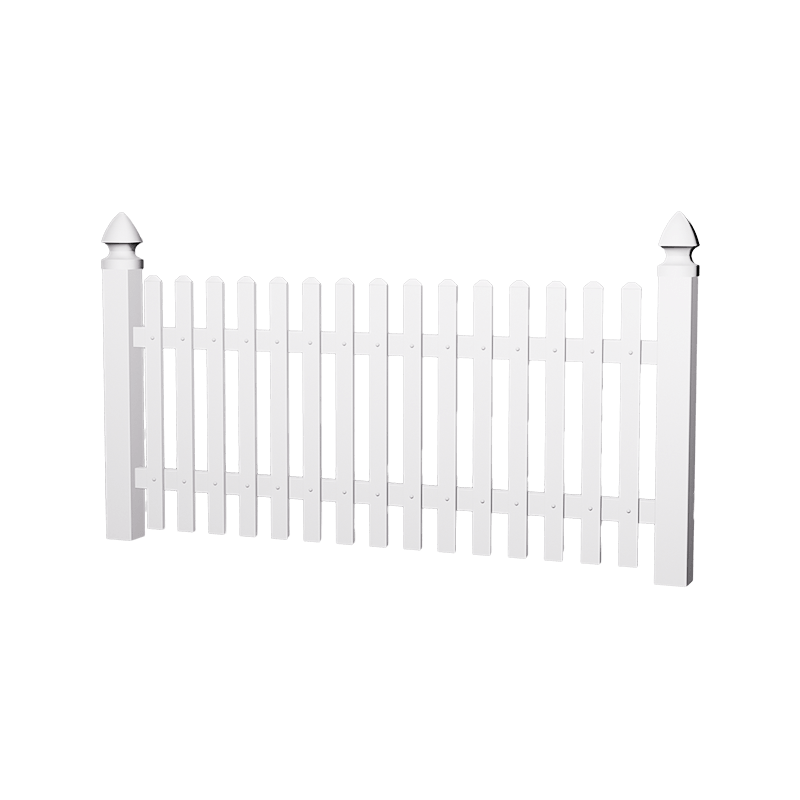
The Traditional Dog Ear Picket is an ideal choice for warehouses, combining aesthetic appeal with practicality. Made from 100% virgin PVC, this durable, low-maintenance fence resists rotting and water...
See DetailsContact Us
Mobile
Copyright © Deqing Huazhijie Railing & Fencing Co.,Ltd. All Rights Reserved.
 Custom Vinyl Fence Manufacturers
 English
 عربى
عربى 中文简体
中文简体 Español