Welcome to Huazhijie!
 +86-572-8086381 / 8282992
  hzjfence1@hzjfence.com

Jun 24, 2026
Content
Few things frame a home's exterior quite like a classic white picket fence. But if you've ever owned a traditional wood picket fence, you already know the downside — repainting every few years, dealing with rot and warping, and replacing boards that crack after a hard winter. A white vinyl picket fence delivers the same timeless curb appeal without any of that ongoing maintenance. Made from rigid PVC (polyvinyl chloride), vinyl fencing holds its bright white color for decades, resists moisture and insects, and never needs sanding or painting. For homeowners who want a beautiful yard border without the upkeep headache, it's one of the most practical investments you can make.
This guide covers everything from choosing the right style and height to installation tips, cost comparisons, and what to watch out for when shopping for white vinyl picket fencing panels.
Before committing to any fence material, it helps to understand exactly how vinyl stacks up against the traditional wood alternative in the areas that actually matter over the long run.
| Category | White Vinyl Picket Fence | Wood Picket Fence |
| Upfront cost | Higher | Lower |
| Lifetime cost | Lower (minimal maintenance) | Higher (paint, stain, repairs) |
| Maintenance required | Occasional rinse with hose | Repainting every 3–5 years |
| Rot and insect resistance | Fully resistant | Vulnerable without treatment |
| Color retention | Decades without fading | Fades, yellows, peels over time |
| Lifespan | 20–30+ years | 10–15 years with upkeep |
| Eco-friendliness | PVC not biodegradable | Renewable if sustainably sourced |
| DIY installation | Easy with panel systems | Moderate — requires cutting and finishing |
The verdict for most homeowners is straightforward: vinyl costs more upfront but pays for itself within five to eight years by eliminating the recurring cost of painting, staining, and replacing rotted boards. Over a 20-year ownership period, a white vinyl picket fence is almost always the more economical choice.
Vinyl picket fencing isn't one-size-fits-all. The style of the picket top, the spacing between pickets, and the overall panel height all affect both the look and the function of your fence. Here are the most widely available styles and what each one is best suited for.
Flat top pickets have a clean, squared-off profile that gives a modern, understated look. They're the most contemporary of the common picket styles and work well on homes with angular or minimalist architecture. Because there are no pointed tips, flat top panels are also a safer choice in yards where children or pets play close to the fence line.
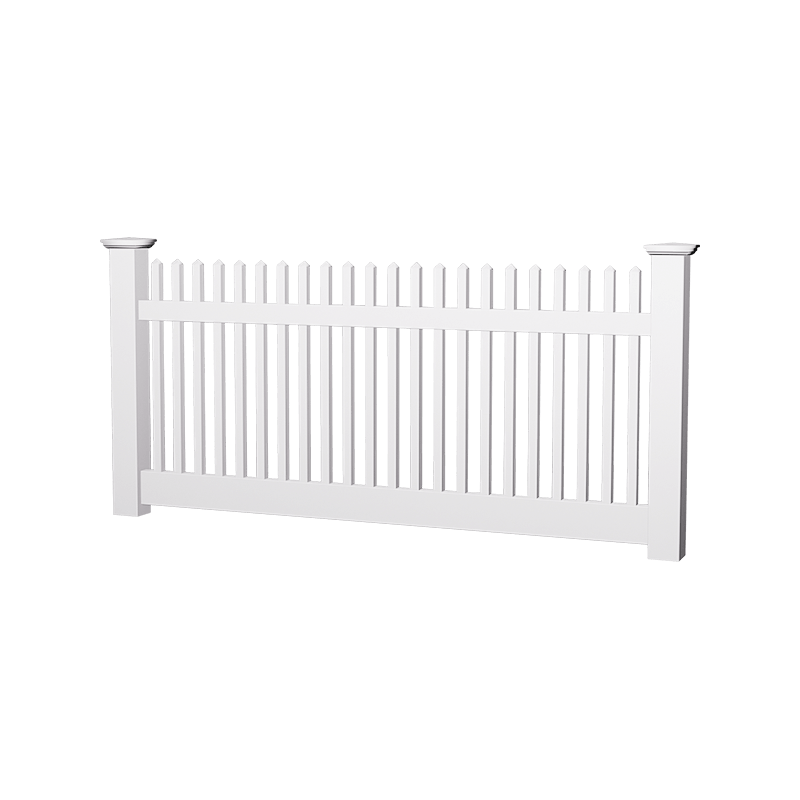
The gothic style features a classic pointed top — the most iconic and widely recognized picket fence silhouette. It pairs naturally with traditional, colonial, and cottage-style homes and gives any front yard that quintessential neighborhood charm. Gothic-topped white vinyl picket fence panels are the bestselling style in most fencing categories for good reason.
Dog ear pickets have two angled cuts at the top corners, creating a slightly softened look that's less formal than gothic but more decorative than flat. This style bridges the gap between rustic and classic and tends to complement craftsman-style and farmhouse-style homes particularly well.
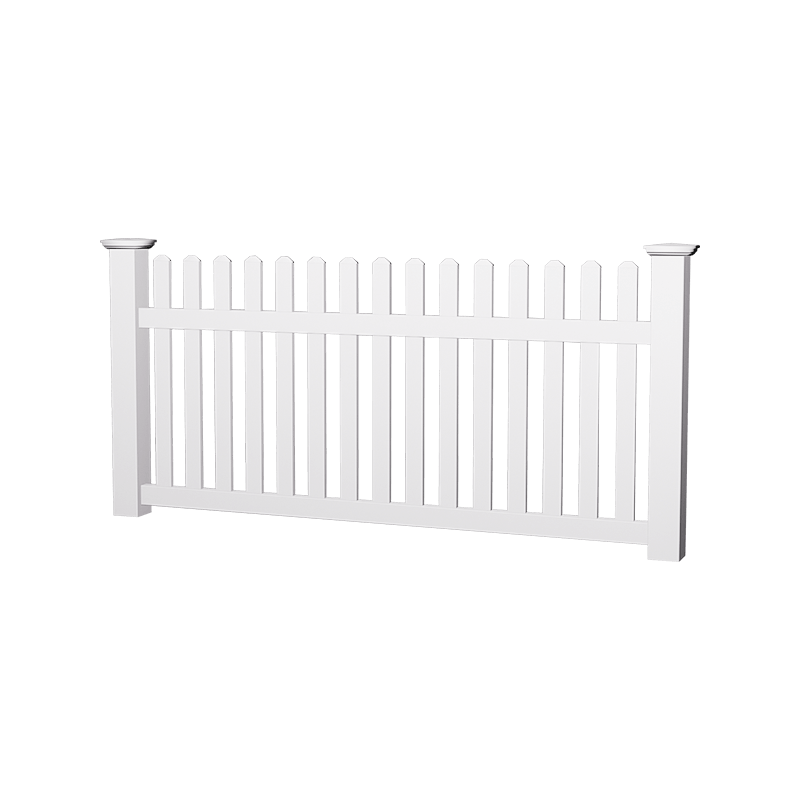
Scalloped panels follow a wave-like curve along the top of each section, with picket heights rising toward the posts and dipping in the middle of each panel. This creates a rhythmic, decorative roofline along the fence run that adds visual interest across long stretches. Scalloped white vinyl picket fence panels are a popular choice for front garden borders and landscape edging.
Picket fence height is one of the most practical decisions you'll make, and it directly affects what the fence can actually do for your property. Standard residential vinyl picket fencing comes in three common heights, each suited to different purposes.
Check your local zoning ordinances before purchasing. Many municipalities have height limits for front yard fencing — commonly 3 to 4 feet — while allowing taller fences in side and rear yards. HOA rules may also specify fence materials and colors, so confirm those requirements before ordering.
Most residential white vinyl picket fence products are sold as pre-assembled panels that attach to posts — making DIY installation genuinely achievable for a weekend project. Here's a practical overview of the process.
Use string line and stakes to mark your fence line before digging anything. Standard vinyl fence panels come in 6-foot or 8-foot widths, so plan your post spacing to match your panel width exactly. Lay out all posts on paper first, accounting for gate openings, corners, and any slope changes in your yard. Measure twice — once you've poured concrete around posts, repositioning is extremely difficult.
Dig post holes to a depth of at least one-third the total post length — for a 6-foot post, that means a 2-foot hole. In cold climates, dig below the frost line (typically 36–48 inches in northern states) to prevent frost heave from pushing posts up over winter. Set each vinyl post sleeve over a structural aluminum insert for added rigidity, backfill with fast-setting concrete, and use a level to confirm each post is perfectly plumb before the concrete sets. Let posts cure for at least 24–48 hours before attaching panels.
Most vinyl picket fence panel systems use a rail-and-bracket design where the horizontal rails slide into slots or brackets on the post. Insert the top rail into the post bracket first, then angle the bottom rail into its bracket and snap or screw it secure. Some systems use a post sleeve with pre-routed channels that the rails slide directly into, which is even simpler. Keep panel bottoms a consistent 2 inches above grade to prevent ground contact — the main cause of discoloration and moisture-related warping even in vinyl fences.
Gate posts need extra stability because they bear repeated lateral stress from the gate swinging open and closed. Use a wider diameter post for gate openings, set it deeper than standard fence posts (ideally 30–36 inches), and use extra concrete. Attach gate hinges at the top and bottom of the gate frame and confirm the gate swings freely without binding before the latch is installed. Heavy-duty stainless steel or galvanized hardware resists rust far better than standard zinc-plated screws in outdoor exposure.
One of the biggest selling points of a white vinyl picket fence is how little maintenance it requires — but "low maintenance" doesn't mean "no maintenance." Knowing how to clean it properly keeps it looking bright and prevents long-term staining.
A garden hose with moderate pressure removes most surface dust and light dirt. For a more thorough clean once or twice a year, use a soft brush or sponge with a mild dish soap solution and rinse thoroughly. This is usually enough to keep the fence looking fresh between seasons. Avoid harsh abrasive scrubbers that can scratch the PVC surface and create microscopic grooves where dirt embeds more easily over time.
In humid climates or areas with heavy shade, green algae and mildew can develop on the fence surface — especially on the north-facing side. A diluted bleach solution (one part bleach to four parts water) applied with a soft brush and rinsed thoroughly removes algae effectively without damaging vinyl. Alternatively, white vinegar diluted in water works for lighter buildup and is a non-toxic option if you have pets or garden beds directly adjacent to the fence.
A pressure washer on a low to medium setting (under 1,500 PSI) is the fastest way to clean a long vinyl fence run. Keep the nozzle at least 12 inches from the surface and use a wide fan tip rather than a concentrated jet. High-pressure concentrated streams can force water behind panel joints or — at very close range — scuff the surface. Always spray in the direction of the pickets rather than against the grain of any panel seams.
Not all vinyl picket fence products are made to the same quality standard. A few key factors separate a fence that lasts 25 years from one that becomes brittle and discolored in five.
Cost varies depending on fence height, panel style, post spacing, and whether you're installing it yourself or hiring a contractor. Here's a general breakdown to help you budget realistically.
| Cost Item | DIY Estimate | Professional Install Estimate |
| Vinyl panels (per linear foot) | $10–$20 | $10–$20 |
| Posts and hardware | $5–$10 per linear foot | Included in labor quote |
| Labor (per linear foot) | — | $15–$30 |
| Gate (single, pre-hung) | $80–$200 | $150–$400 installed |
| Total (100 linear feet) | $1,500–$3,000 | $3,000–$6,000 |
DIY installation is very achievable with a vinyl panel system and can cut total project cost nearly in half. The main tools you'll need are a post hole digger or auger, a level, a rubber mallet, and a circular saw for any cuts. Budget an extra 5–10% of total material cost for waste and any cuts around corners or gates.
Our 1.5"x1.5" Horizontal Picket Fence, the ultimate garden solution made from 100% virgin PVC for unmatched durability and low maintenance. Designed for easy DIY installation, this fire-proof fence re...
See Details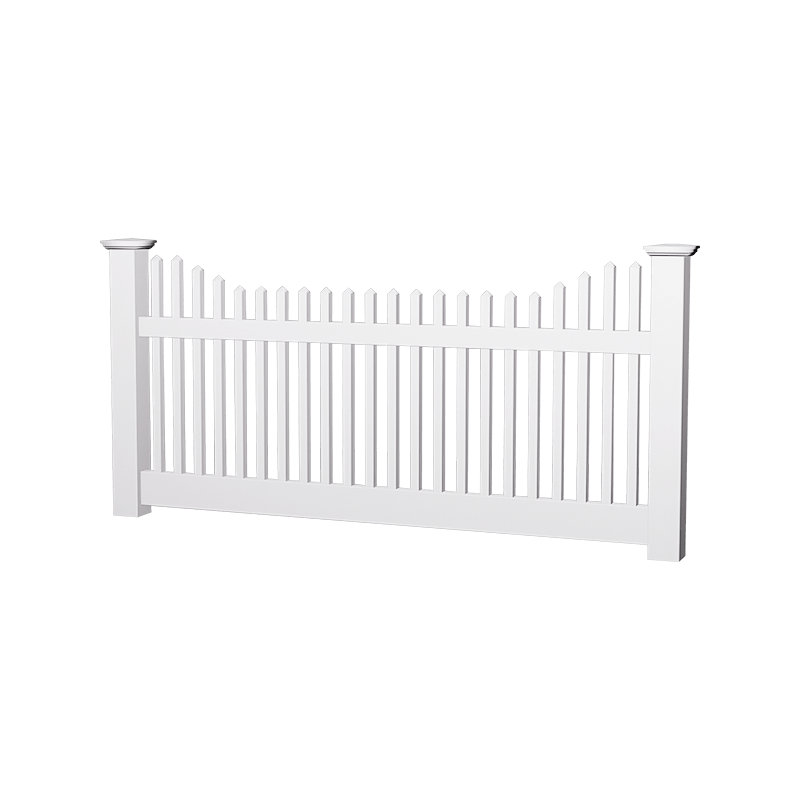
The Special-Shaped Picket Fence, the perfect addition to any home. Crafted from 100% virgin PVC, this fence combines durability and elegance with low maintenance requirements. Designed for easy DIY in...
See Details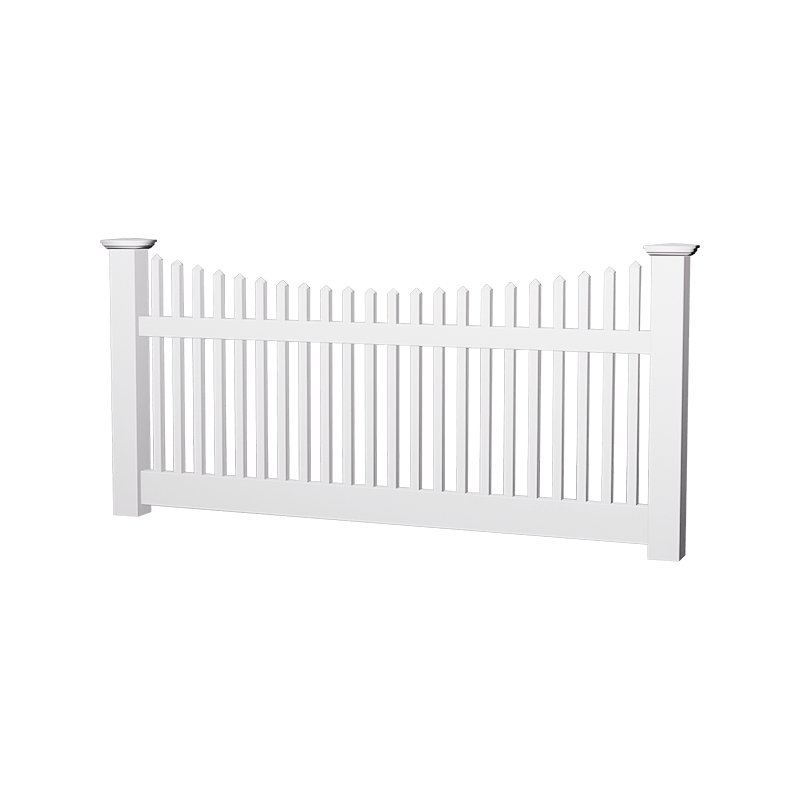
The Special-Shaped Picket Fence, the perfect addition to any home. Crafted from 100% virgin PVC, this fence combines durability and elegance with low maintenance requirements. Designed for easy DIY in...
See Details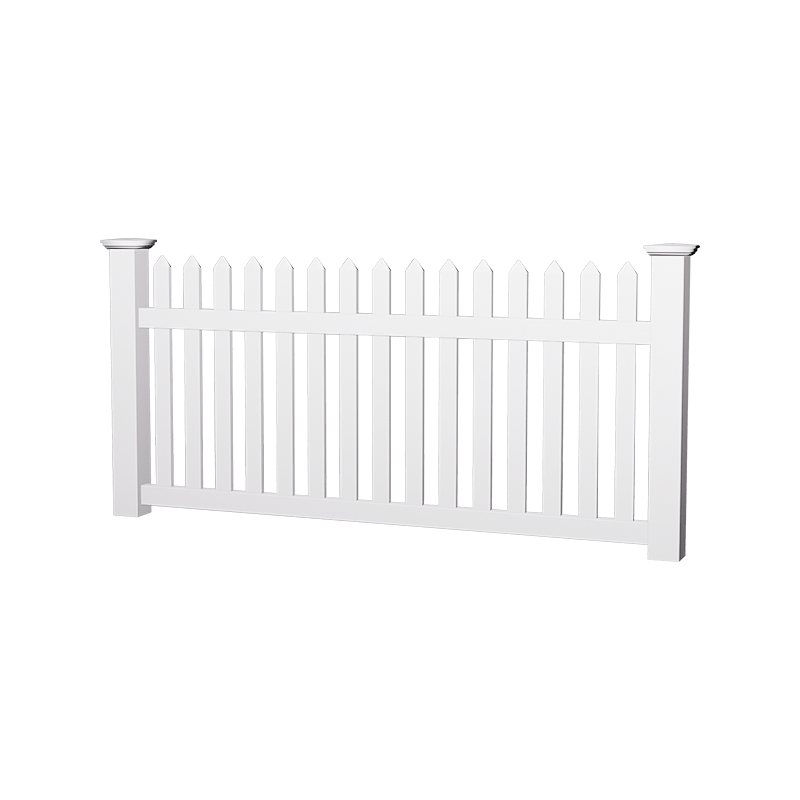
Enhance your home’s exterior with our Traditional Straight Spade Fence, crafted from 100% virgin PVC for exceptional durability and style. This low-maintenance solution is designed for easy installati...
See Details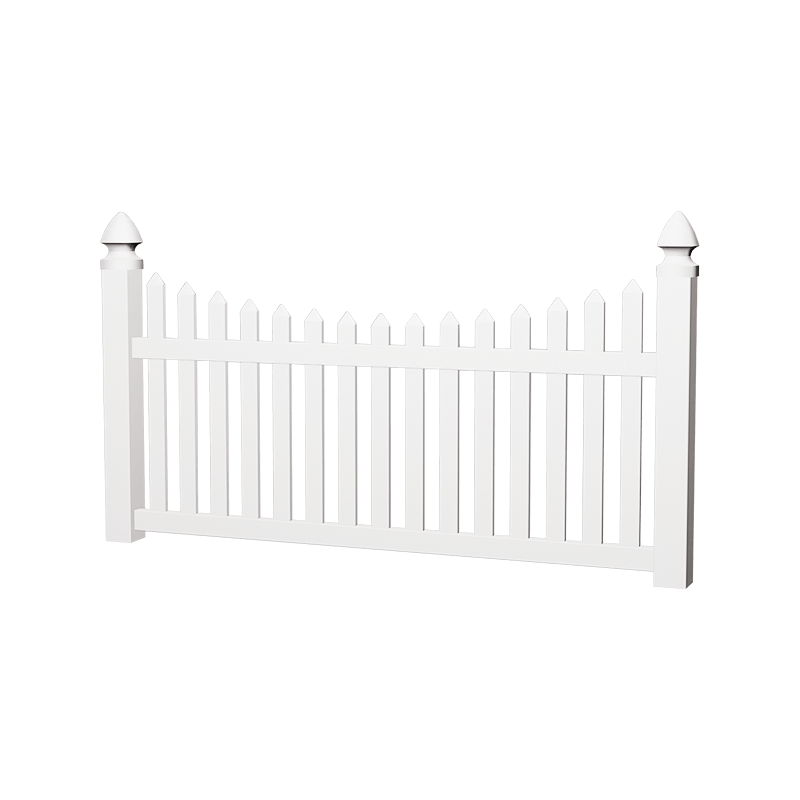
Transform your outdoor space with our 7/8"x3" Outdoor Picket Fence, specifically designed for farm use and outdoor applications. Crafted from 100% Virgin PVC, this durable and high-impact resistant fe...
See Details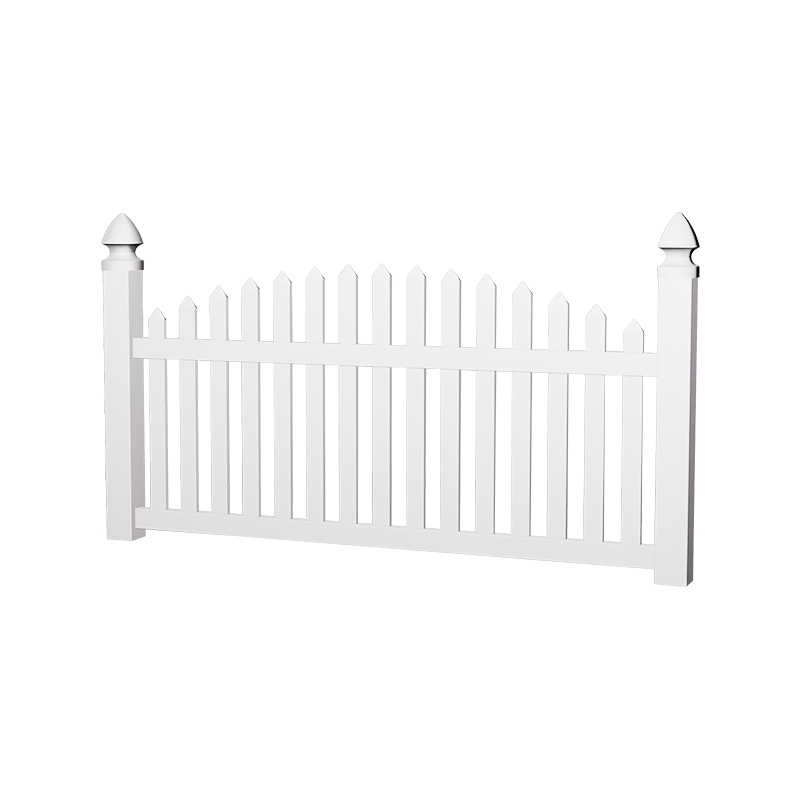
Enhance your farm's aesthetic and functionality with our PVC Arched Picket Fence. Crafted from 100% virgin PVC, this durable and stylish fencing solution combines the classic charm of traditional pick...
See Details
Our durable and versatile Picket Fence, designed specifically for farm use. Crafted from 100% virgin PVC plastic, this fence panel is not coated, ensuring superior quality and longevity. With dimensio...
See Details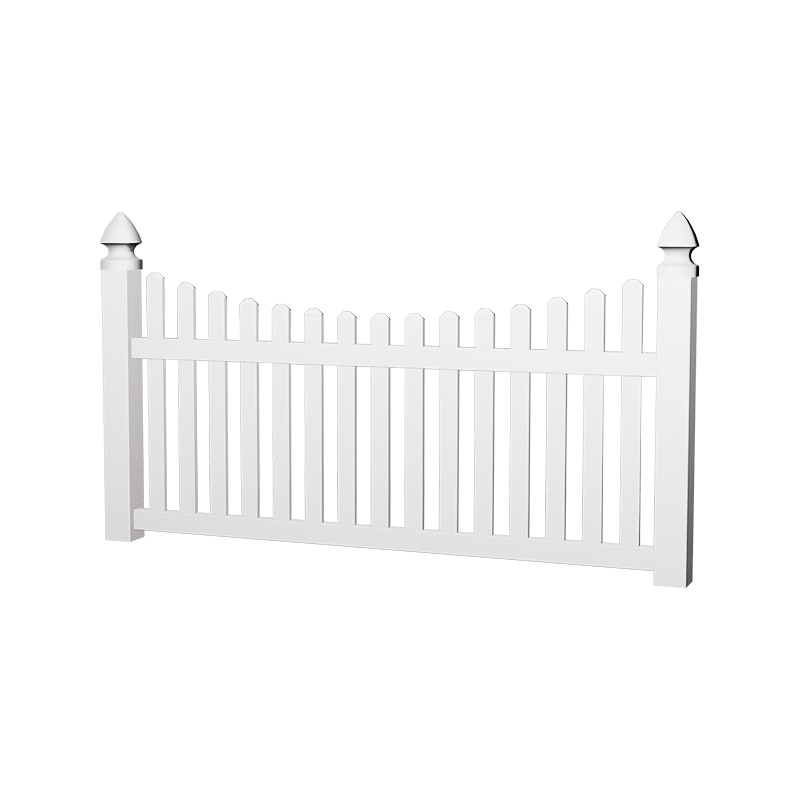
Introducing our 7/8"x3" Plastic Picket, designed specifically for farm applications. Crafted from 100% virgin PVC, this picket is not coated, ensuring maximum durability and resistance to impacts. Wit...
See Details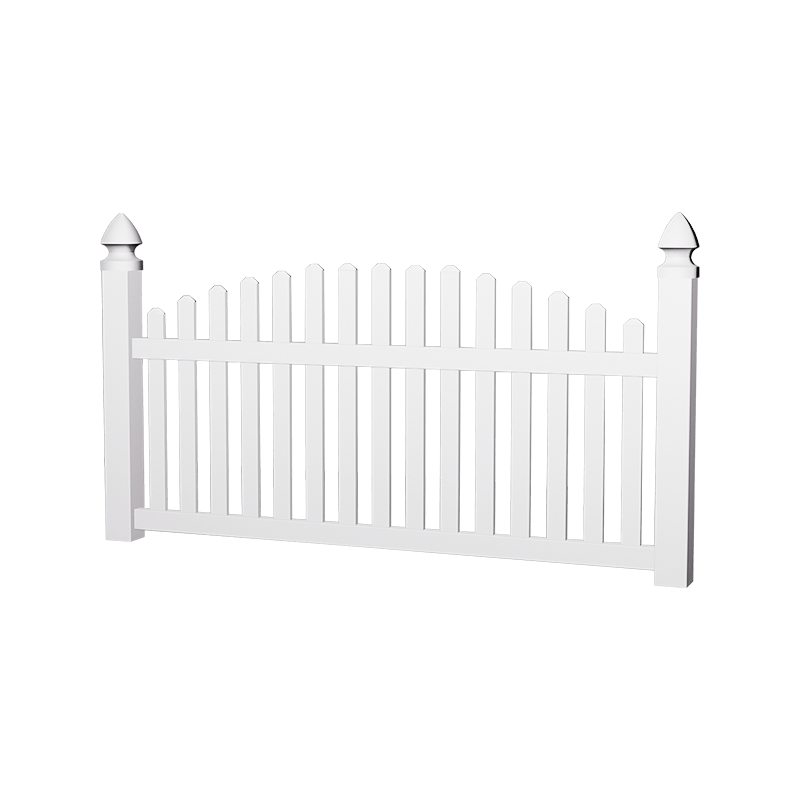
The Dog Ear Top Garden Fence, the ultimate solution for your farm fencing needs. Crafted from 100% virgin PVC, this fence is designed to withstand the elements without the worry of rot or decay, makin...
See Details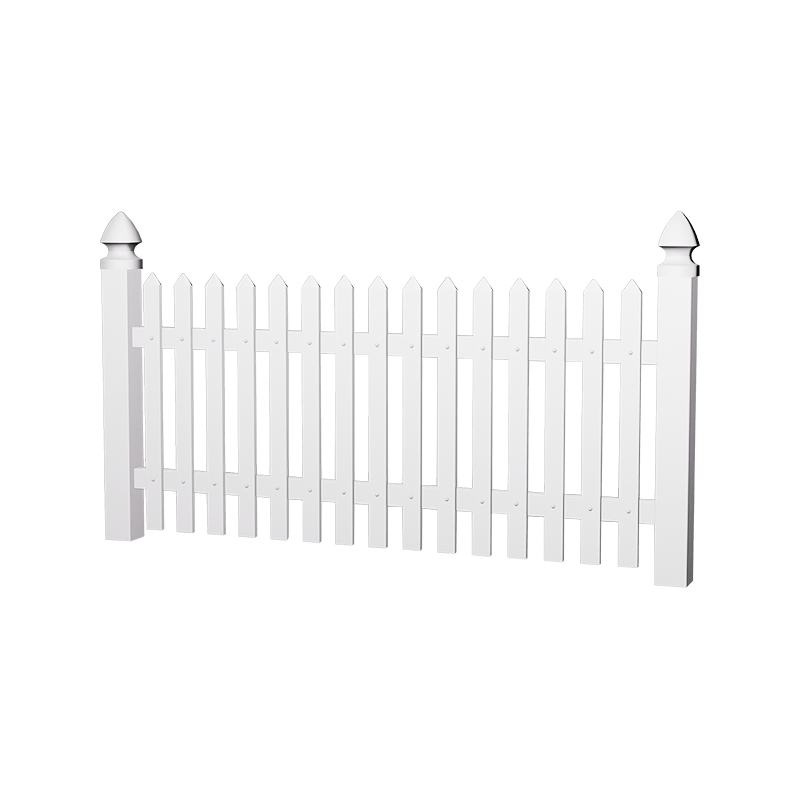
Decorate your outdoor spaces with our durable and stylish PVC Face Mounted Pickets Fence. Designed for easy installation and long-lasting performance, this fence is perfect for residential and commerc...
See Details
Our White Vinyl Fence, measuring 4'H x 8'W, designed for both functionality and aesthetics. Made from 100% virgin PVC plastic, this fence is not coated, ensuring unmatched durability and resistance to...
See Details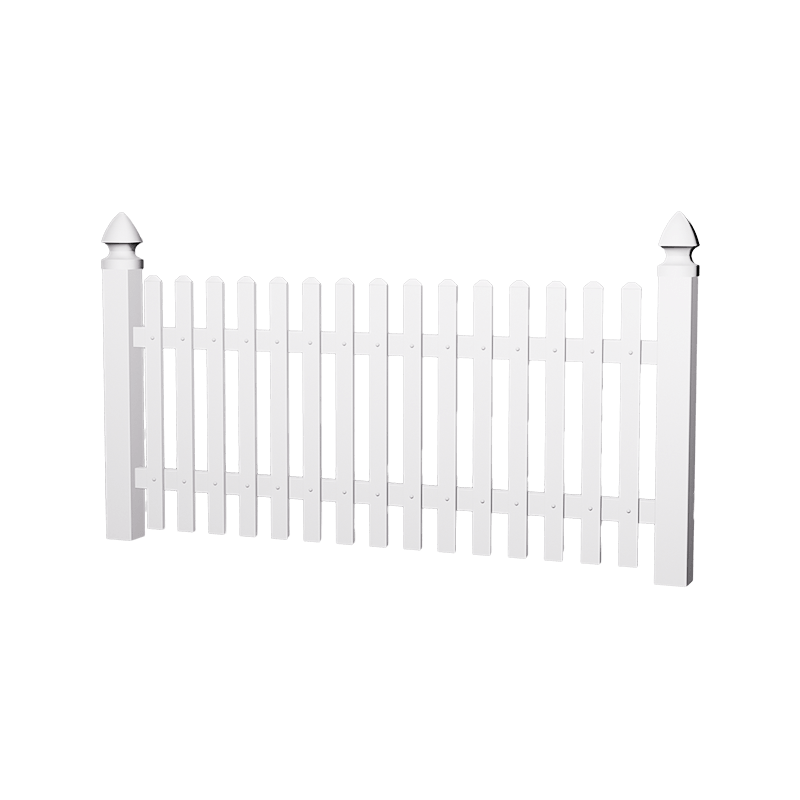
The Traditional Dog Ear Picket is an ideal choice for warehouses, combining aesthetic appeal with practicality. Made from 100% virgin PVC, this durable, low-maintenance fence resists rotting and water...
See DetailsContact Us
Mobile
Copyright © Deqing Huazhijie Railing & Fencing Co.,Ltd. All Rights Reserved.
 Custom Vinyl Fence Manufacturers
 English
 عربى
عربى 中文简体
中文简体 Español