Welcome to Huazhijie!
 +86-572-8086381 / 8282992
  hzjfence1@hzjfence.com

Jun 10, 2026
Content
A vinyl fence is a fencing system made from polyvinyl chloride (PVC), a rigid, weather-resistant plastic that has been used in outdoor construction applications since the 1980s. Originally developed as a low-maintenance alternative to painted wood, vinyl fencing has grown into one of the most widely installed fence types across residential properties in North America, the UK, Australia, and beyond. Today it accounts for a significant share of all new residential fence installations, and for good reason — it combines a clean, consistent appearance with a service life that routinely exceeds 20 to 30 years with minimal upkeep.
The appeal of a PVC vinyl fence is straightforward. Unlike wood, it does not rot, warp, crack, or splinter. Unlike iron or steel, it does not rust. Unlike aluminium, it does not dent easily and requires no painting. A vinyl privacy fence installed today should look essentially the same in 15 years with nothing more than an occasional rinse from a garden hose. For homeowners who want a clean, attractive boundary without the ongoing commitment of sanding, staining, or repainting, vinyl is often the most practical choice available.
Modern vinyl fence panels come in a wide range of styles, heights, and colours — far beyond the plain white picket fence that many people associate with the material. From solid privacy panels to decorative lattice tops, ranch rail configurations, and ornamental post-and-rail designs, there is a vinyl fencing style to suit almost any property type, landscaping scheme, or local planning requirement.
Choosing the right vinyl fence style depends on the primary purpose of the fence — whether that is privacy, security, pet containment, decoration, or simply marking a property boundary — as well as the architectural character of the home and any local HOA or planning guidelines that apply.
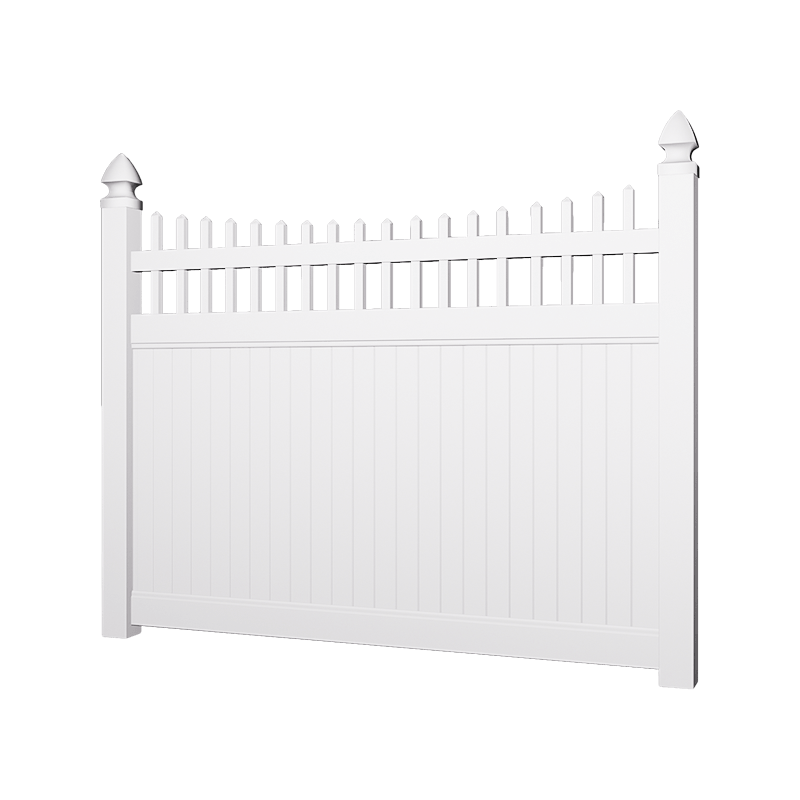
A vinyl privacy fence is the most popular style for backyard installations. It uses solid panels of interlocking PVC boards with no gaps between them, typically running 6 feet high to block sightlines from neighbouring properties and the street. Privacy panels are available in flat-top, dog-eared, and scalloped top profiles. The flat-top is the most modern and widely used, while the scalloped edge adds a decorative curve between posts that softens the appearance from the street side. For homeowners with pools, outdoor entertaining areas, or simply a desire for a secluded backyard, a vinyl privacy fence is the go-to solution.
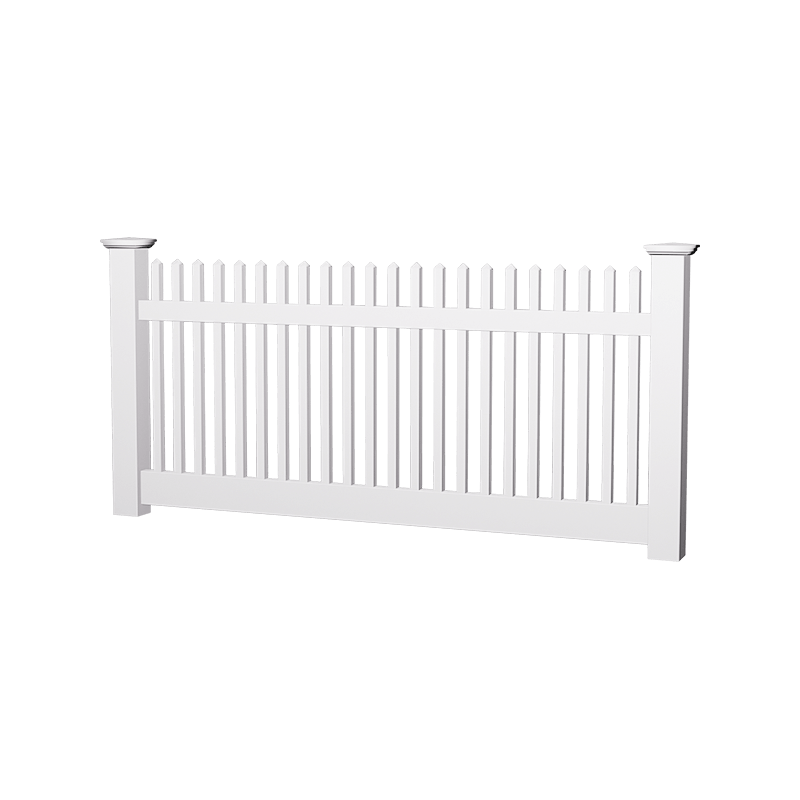
The vinyl picket fence is the classic front-yard option — a 3- to 4-foot-high fence with evenly spaced vertical boards (pickets) attached to horizontal rails. Picket styles range from the traditional pointed Gothic top to the rounded dog-ear and flat-top varieties. Because picket fences are semi-open, they define boundaries and add curb appeal without completely blocking views or air circulation. They are ideal for front gardens, flower bed borders, and properties where a welcoming, traditional aesthetic is desired. White is the most popular colour, but tan, almond, and grey vinyl picket fences are increasingly common.
Also called a split-rail or post-and-rail vinyl fence, this style uses two, three, or four horizontal rails running between posts with no vertical boards. It is primarily a boundary marker rather than a containment or privacy solution, and it is most commonly used on larger rural or semi-rural properties, horse paddocks, and front yards where an open, pastoral look is desired. Ranch rail vinyl fences are among the most affordable vinyl fencing options because they use less material per linear foot than privacy or picket styles.
A semi-privacy vinyl fence sits between a privacy fence and a picket fence in terms of openness. It uses closely spaced vertical boards with a small consistent gap — typically half an inch to one inch — between each board. This allows air and a limited amount of light to pass through while still obstructing the majority of sightlines. Semi-privacy fencing is a popular choice for side yards, pool enclosures where ventilation matters, and properties in wind-prone areas where a solid panel fence would experience excessive wind loading on the posts.
The shadowbox style alternates boards on opposite sides of the rails — one board on the front, the next on the back, and so on — creating a visually attractive fence that looks identical from both sides. This "good neighbour" configuration is valued because neither the homeowner nor the neighbour is left looking at the less finished back side of the fence. The slight gaps between the alternating boards also provide modest wind resistance compared to a fully solid privacy panel.
Understanding how vinyl fencing compares to alternative materials helps homeowners make a fully informed decision based on budget, priorities, and long-term goals.
| Feature | Vinyl Fence | Wood Fence | Aluminum Fence | Chain Link |
| Upfront Cost | Medium–High | Low–Medium | Medium–High | Low |
| Maintenance Required | Very Low | High | Low | Low |
| Privacy Options | Excellent | Excellent | Limited | None |
| Rot / Rust Resistance | Excellent | Poor (without treatment) | Excellent | Poor (galvanised only) |
| Colour & Style Range | Wide | Very Wide | Moderate | Limited |
| Expected Lifespan | 20–30+ years | 10–20 years | 25–30+ years | 15–20 years |
| Paintable / Stainable | No | Yes | Limited | No |
| Eco / Recyclability | Moderate (recyclable PVC) | Good (natural material) | Good (highly recyclable) | Good (recyclable steel) |
The most important takeaway from this comparison is that vinyl fencing has the lowest total cost of ownership over a 20-year period in most climates when maintenance costs are factored in. A wood fence that needs staining every two to three years and board replacements every five to eight years will frequently end up costing more in aggregate than a vinyl fence that requires only occasional cleaning.
Vinyl fence cost varies depending on the style, height, fence length, local labour rates, and the quality tier of the materials selected. Understanding the main cost components helps homeowners budget accurately and avoid surprises during the quoting process.
Vinyl fence panels and posts are typically priced per linear foot of completed fence run. Material-only costs (panels, posts, rails, caps, and hardware) generally fall in the following ranges in the US market:
| Vinyl Fence Style | Typical Height | Material Cost (per linear ft) | Installed Cost (per linear ft) |
| Ranch Rail (2-rail) | 3–4 ft | $5 – $12 | $10 – $20 |
| Picket | 3–4 ft | $10 – $20 | $18 – $35 |
| Semi-Privacy | 4–6 ft | $14 – $24 | $22 – $40 |
| Privacy (flat or dog-ear top) | 6 ft | $16 – $30 | $25 – $50 |
| Privacy (8 ft tall) | 8 ft | $22 – $40 | $35 – $65 |
Beyond the base material and labour cost per linear foot, several additional factors can significantly affect the total project cost:
Installing a vinyl fence is a project that many homeowners with basic DIY skills can tackle over a weekend for straightforward installations on flat ground. The key is taking the time to plan the layout carefully, dig posts to the correct depth, and set them perfectly plumb before the concrete cures — because once the posts are in, they set the alignment for everything that follows.
Before digging a single hole, call your local utility notification service (811 in the US, Dial Before You Dig in Australia, or the equivalent in your country) to have underground utilities marked. Then use stakes and string line to mark the exact fence line, locating post positions at the panel spacing specified by your vinyl fence kit — typically 6, 7, or 8 feet on centre depending on the manufacturer. Confirm that the fence line stays within your property boundary by checking your survey or using a property line app.
Post hole depth is critical for vinyl fence longevity. The standard rule is to bury one-third of the total post length — so a post for a 6-foot fence should be at least 9 feet long with 3 feet in the ground. In climates with significant ground frost, the bottom of the post hole should extend below the local frost line (which can be 36–48 inches in northern US states and Canada) to prevent frost heave from lifting and tilting the posts over time. Use a power auger for efficient digging — hand digging 3-foot-deep holes across an entire backyard is extremely labour-intensive.
Place each post in its hole, fill with fast-setting concrete (following the manufacturer's mixing instructions), and brace the post plumb in both directions using a level. Mound the concrete slightly above grade and slope it away from the post to direct water drainage away from the base. Check alignment along the string line and allow the concrete to cure fully — at least 24 hours for fast-setting mix — before attaching any panels or rails. Rushing this step is the most common cause of a finished vinyl fence that leans, waves, or has panels that don't fit properly.
Most vinyl fence systems use a slot-in-post design where the rails or panel frames slide directly into routed openings in the posts. No screws or fasteners are typically needed to hold the panels in place — the routed post channels grip the rail ends securely. Work from one end of the fence to the other, sliding each panel section into position between the set posts. For privacy fences, individual pickets or boards are often inserted one at a time into the top and bottom rail channels before the assembly is slid into the posts.
Finish each post with a post cap — either flat, pyramid, or decorative ball cap depending on your style preference. Post caps keep water from pooling inside the hollow post and prevent debris and insects from entering. Hang gates last, adjusting the hinge positions to achieve a plumb gate that swings freely and latches securely. Most vinyl gate hardware includes adjustable hinges that allow fine-tuning after installation.
One of the biggest selling points of a vinyl privacy fence or any other vinyl fencing style is its genuinely low maintenance requirement. However, "low maintenance" does not mean "no maintenance." A few simple tasks performed periodically will keep your vinyl fence looking its best and maximise its service life.
The most important maintenance task is washing the fence once or twice a year — or more frequently in humid climates where green algae, mould, and mildew can develop on the surface. For light dirt and dust, a garden hose with a spray nozzle is usually sufficient. For more stubborn green staining or mildew, mix a solution of one part white vinegar to three parts water and scrub with a soft-bristled brush, then rinse thoroughly. For heavily soiled areas, a diluted outdoor cleaner or a purpose-made vinyl fence cleaner works well. Avoid bleach-based cleaners unless specifically approved by the manufacturer, as some formulations can affect the UV stabilisers in the PVC over time.
Rubber scuff marks from garden equipment, stubborn algae stains, or grease marks can usually be removed with a Magic Eraser-type melamine foam pad or a small amount of acetone (nail polish remover) on a cloth. Test any solvent-based cleaner on an inconspicuous area first, as some formulations can dull the surface finish of certain vinyl products. Rust stains from metal objects left leaning against the fence can be treated with a dedicated rust stain remover safe for use on plastics.
After severe weather, walk the fence line and inspect for cracked or broken panels, posts that have shifted or leaned, and gate hardware that has been damaged or knocked out of adjustment. Minor cracks in vinyl panels can be repaired with PVC cement in some cases, but larger cracks or cleanly broken boards are best replaced — individual replacement boards are usually available from the original manufacturer or compatible aftermarket sources. Replacement is generally straightforward, as most vinyl fence systems are designed for individual component replacement without dismantling the entire panel.
Keep grass, vines, and shrubs trimmed back from the base of the fence. Vegetation that grows against the fence traps moisture at ground level, creates conditions for mildew growth on the lower boards, and can exert surprising lateral pressure on panels over time as woody stems thicken. A strip of landscape fabric or gravel along the base of the fence line makes trimming easier and reduces moisture retention at the most vulnerable part of the installation.
Despite its durability, vinyl fencing can develop certain issues over time, particularly in extreme climates or where installation shortcuts were taken. Understanding these common problems and their solutions helps homeowners address them before they become expensive repairs.
Not all vinyl fencing is created equal. The quality difference between budget-grade and premium vinyl fence products is significant and directly affects how the fence looks, performs, and ages over its service life. Here are the key specifications and features to evaluate when comparing products:
Our 1.5"x1.5" Horizontal Picket Fence, the ultimate garden solution made from 100% virgin PVC for unmatched durability and low maintenance. Designed for easy DIY installation, this fire-proof fence re...
See Details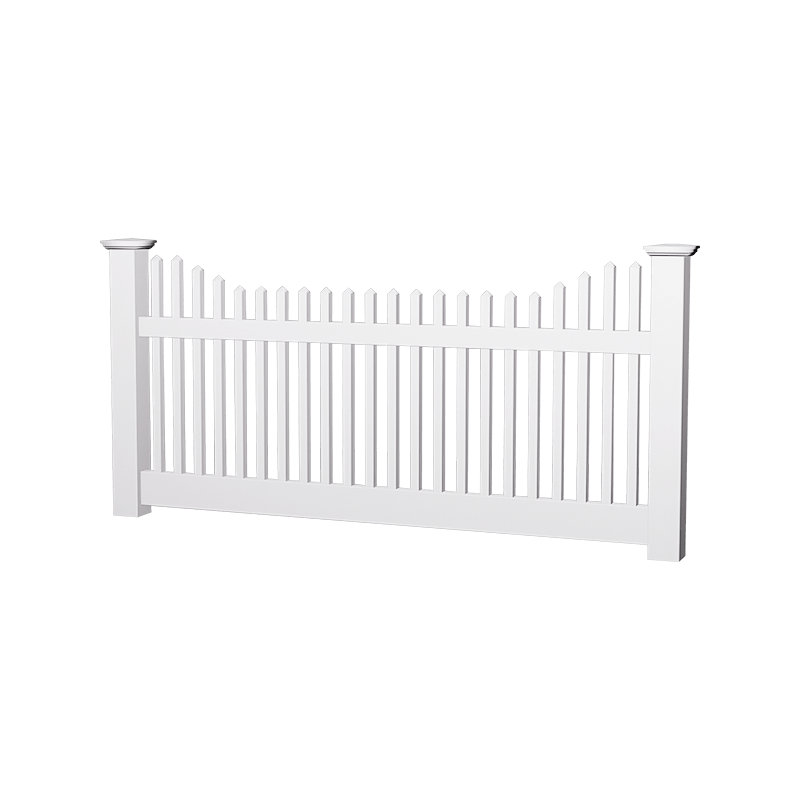
The Special-Shaped Picket Fence, the perfect addition to any home. Crafted from 100% virgin PVC, this fence combines durability and elegance with low maintenance requirements. Designed for easy DIY in...
See Details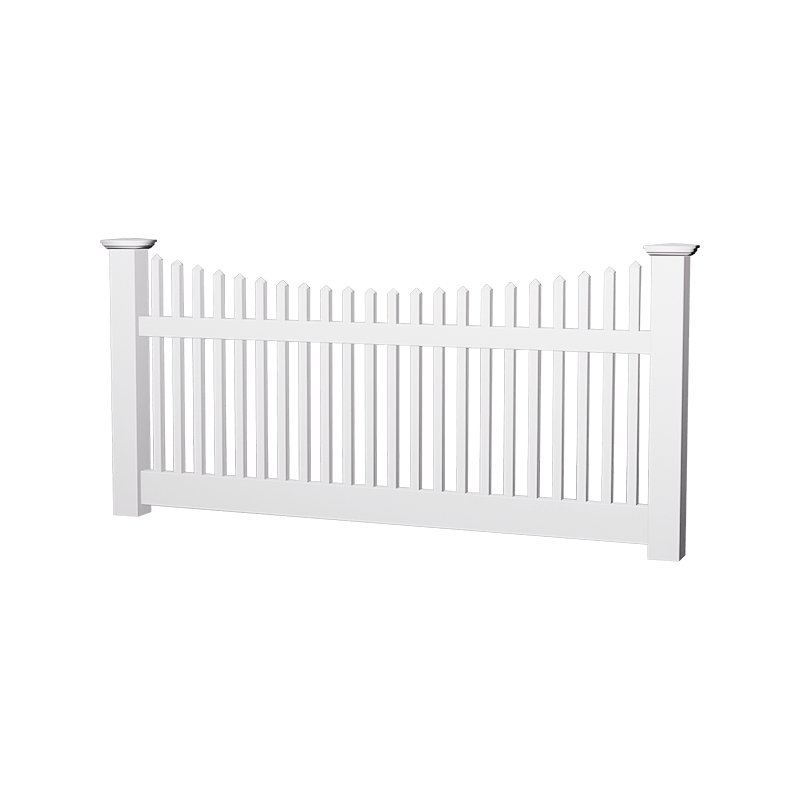
The Special-Shaped Picket Fence, the perfect addition to any home. Crafted from 100% virgin PVC, this fence combines durability and elegance with low maintenance requirements. Designed for easy DIY in...
See Details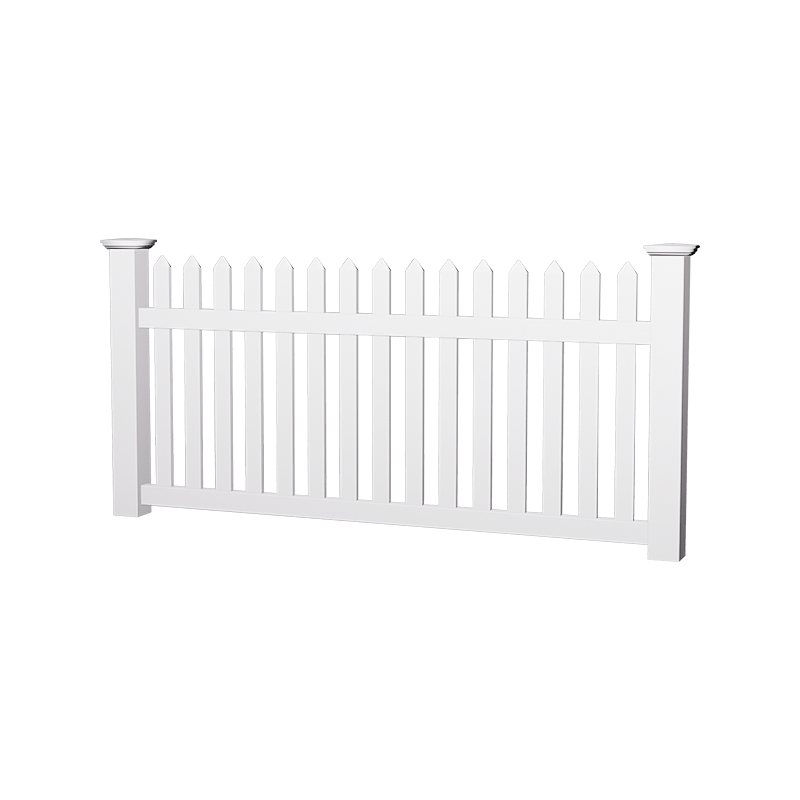
Enhance your home’s exterior with our Traditional Straight Spade Fence, crafted from 100% virgin PVC for exceptional durability and style. This low-maintenance solution is designed for easy installati...
See Details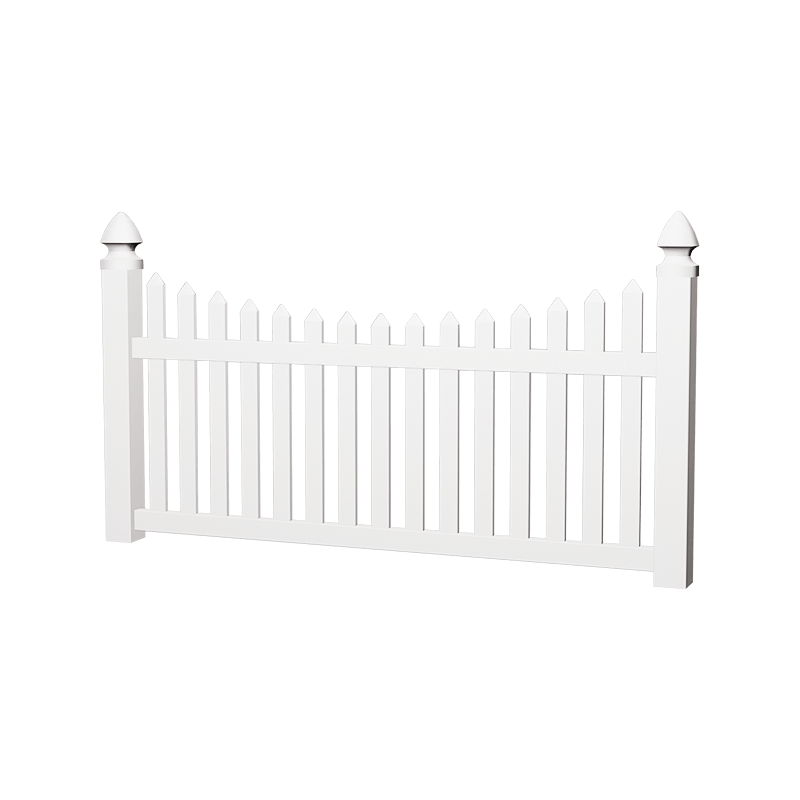
Transform your outdoor space with our 7/8"x3" Outdoor Picket Fence, specifically designed for farm use and outdoor applications. Crafted from 100% Virgin PVC, this durable and high-impact resistant fe...
See Details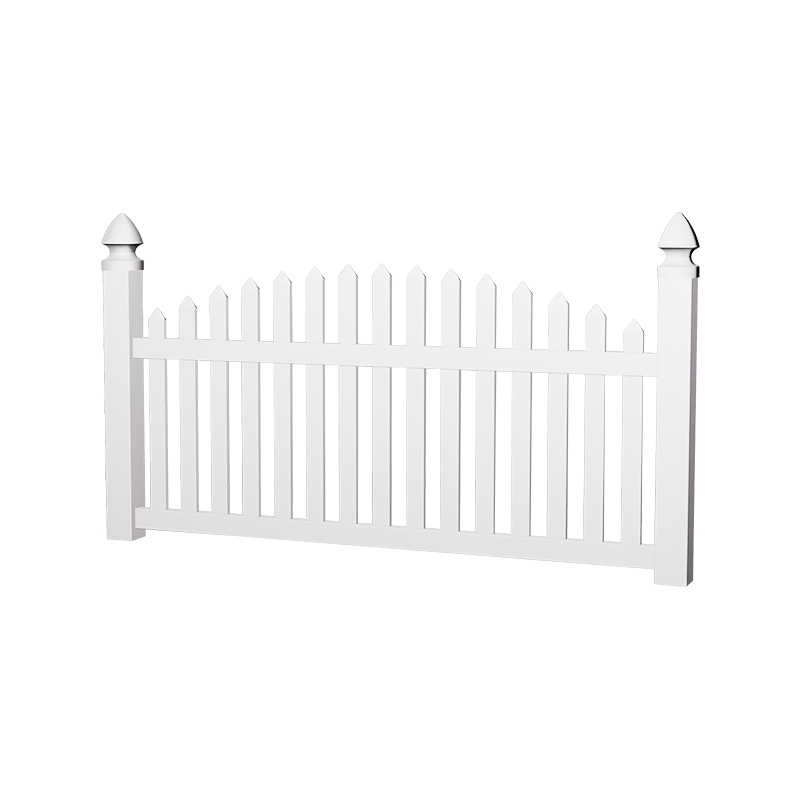
Enhance your farm's aesthetic and functionality with our PVC Arched Picket Fence. Crafted from 100% virgin PVC, this durable and stylish fencing solution combines the classic charm of traditional pick...
See Details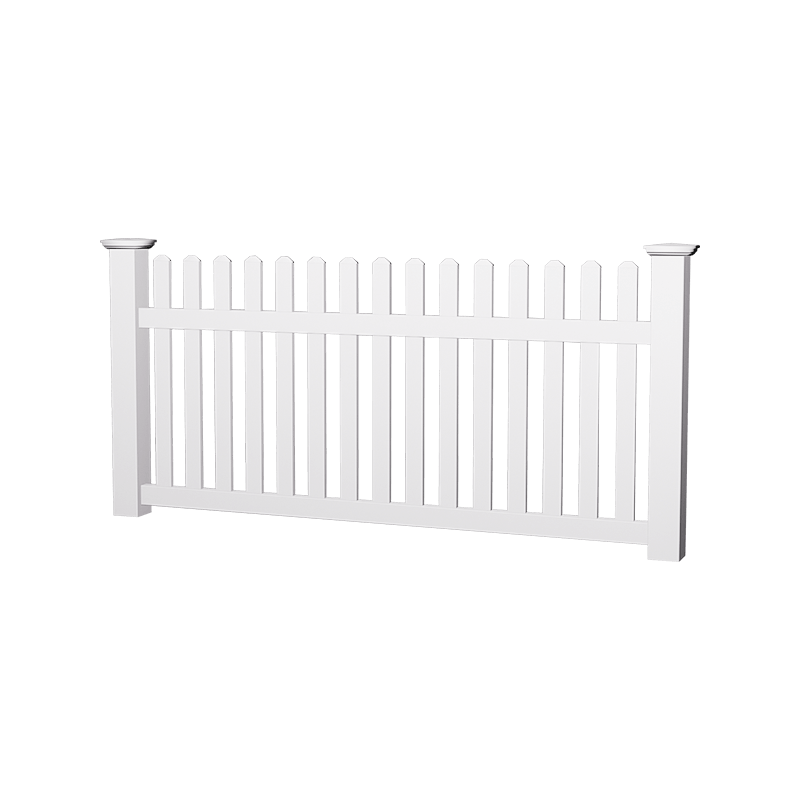
Our durable and versatile Picket Fence, designed specifically for farm use. Crafted from 100% virgin PVC plastic, this fence panel is not coated, ensuring superior quality and longevity. With dimensio...
See Details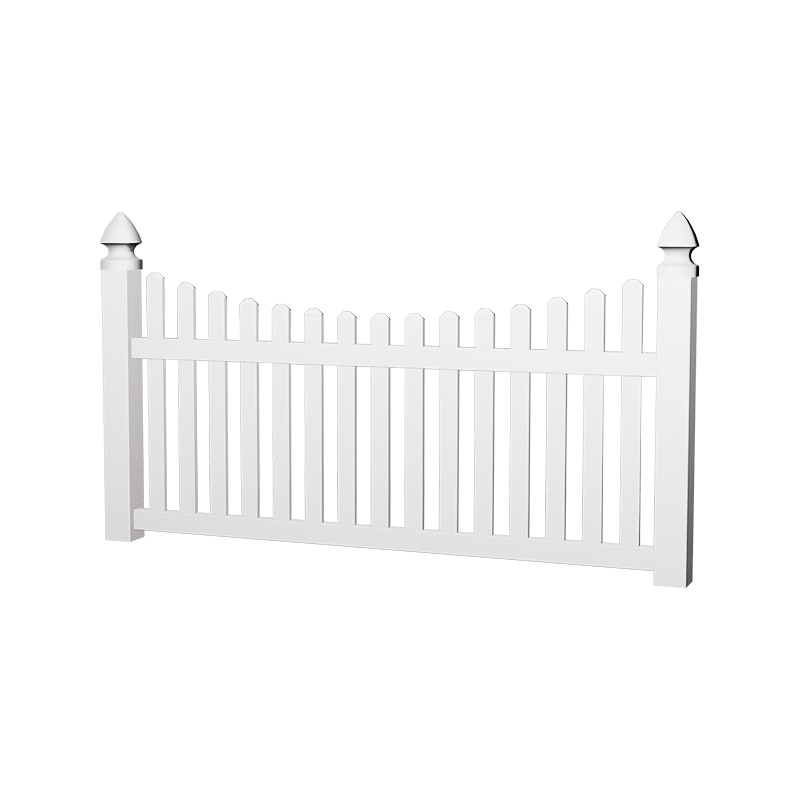
Introducing our 7/8"x3" Plastic Picket, designed specifically for farm applications. Crafted from 100% virgin PVC, this picket is not coated, ensuring maximum durability and resistance to impacts. Wit...
See Details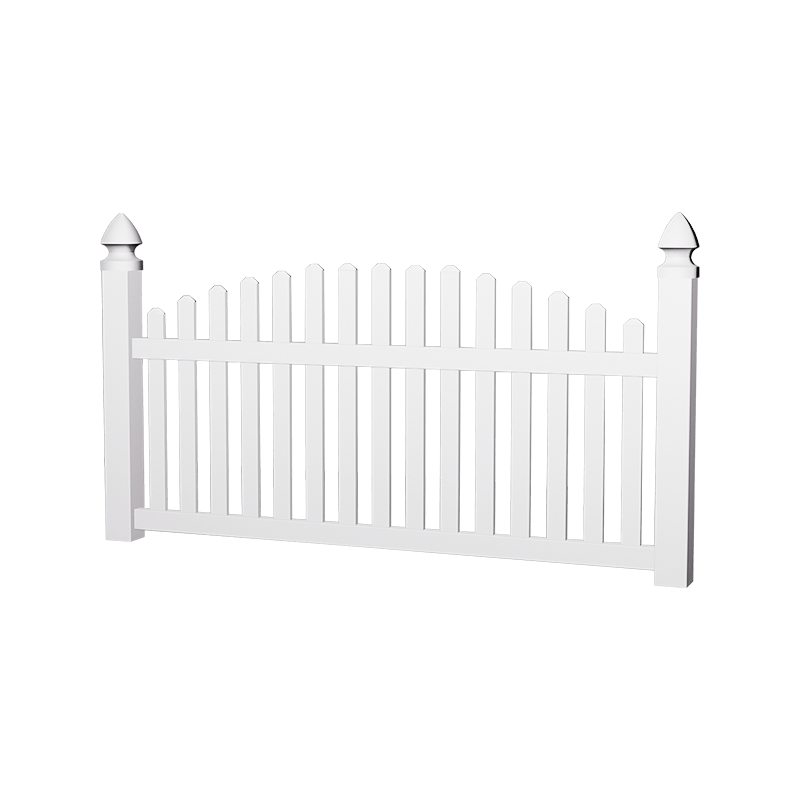
The Dog Ear Top Garden Fence, the ultimate solution for your farm fencing needs. Crafted from 100% virgin PVC, this fence is designed to withstand the elements without the worry of rot or decay, makin...
See Details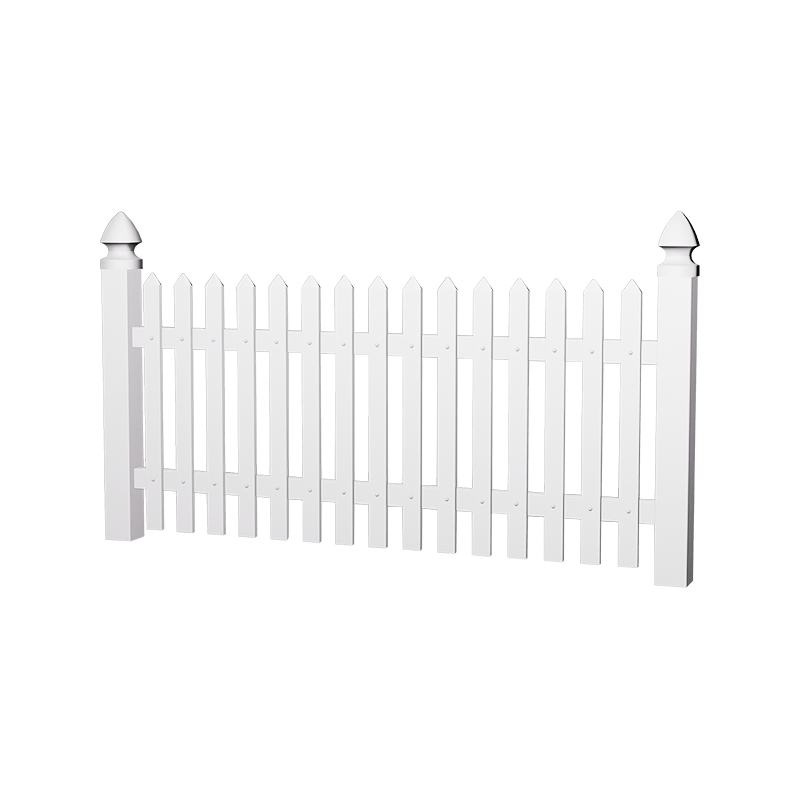
Decorate your outdoor spaces with our durable and stylish PVC Face Mounted Pickets Fence. Designed for easy installation and long-lasting performance, this fence is perfect for residential and commerc...
See Details
Our White Vinyl Fence, measuring 4'H x 8'W, designed for both functionality and aesthetics. Made from 100% virgin PVC plastic, this fence is not coated, ensuring unmatched durability and resistance to...
See Details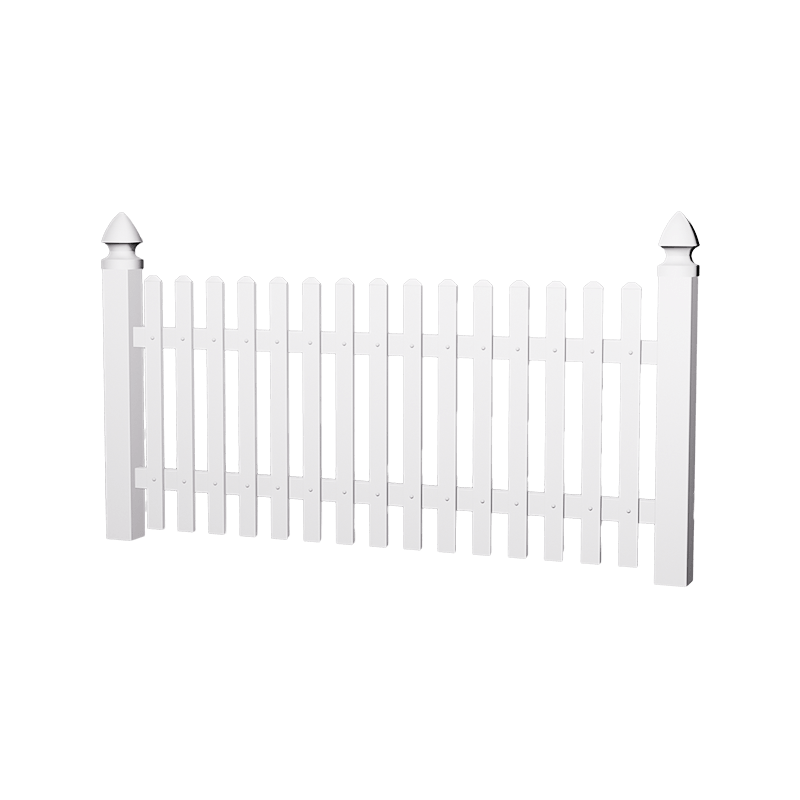
The Traditional Dog Ear Picket is an ideal choice for warehouses, combining aesthetic appeal with practicality. Made from 100% virgin PVC, this durable, low-maintenance fence resists rotting and water...
See DetailsContact Us
Mobile
Copyright © Deqing Huazhijie Railing & Fencing Co.,Ltd. All Rights Reserved.
 Custom Vinyl Fence Manufacturers
 English
 عربى
عربى 中文简体
中文简体 Español